


How to install your MTB shock absorber?

You are about to install your newly delivered MTB rear shock? Here is a video to help you carry out this operation without any mistakes.
- Time: 30 min
- Level: Easy
- Tools: Allen key set | Strap | Shock absorber spacer fitting/removal tool | Threadlocker
Steps
- Strap the rear swing arm of your frame so that it does not move when you remove the shock absorber and to make disassembly easier.
- Remove the two mounting bolts of the shock absorber, then take it out of the frame.
- Fit the new spacers dry onto your new shock absorber using the appropriate tool.
- Fit the new shock absorber onto the frame.
Probikeshop tip: fit the mounting bolts with low or medium threadlocker after degreasing them beforehand.
- Release the air from the shock absorber then work the suspension to check that it does not touch the various tubes of the frame.
Generally, SAG percentages are:
- 15% and 20% for Trail, Cross-Country
- 20% and 30% for All-Mountain, Enduro
- 30% and 35% for DH / Freeride
The installation of your shock absorber is now complete. Remember to lubricate the stanchion regularly to maintain full sensitivity during operation and to protect your equipment.
Découvrez tous nos conseils & Tutoriels
MTB - Shock Absorbers
-
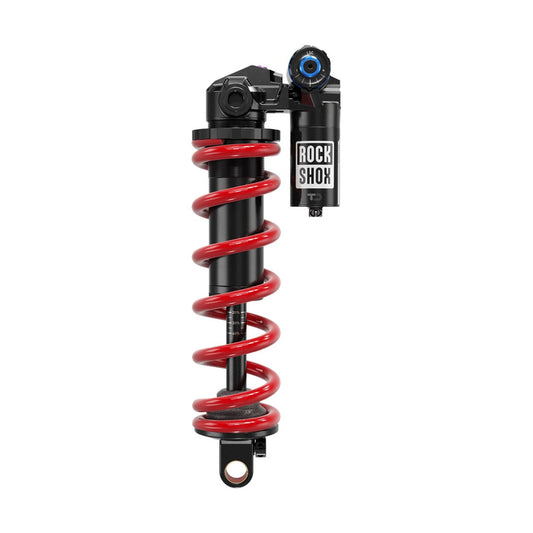
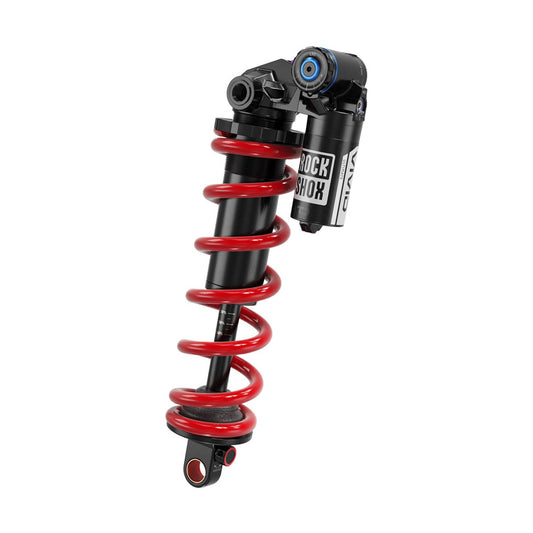
ROCKSHOX VIVID ULTIMATE DH RC2 HBO Trunnion Shock
Regular price From 3.367,00 DKKRegular priceUnit price per -
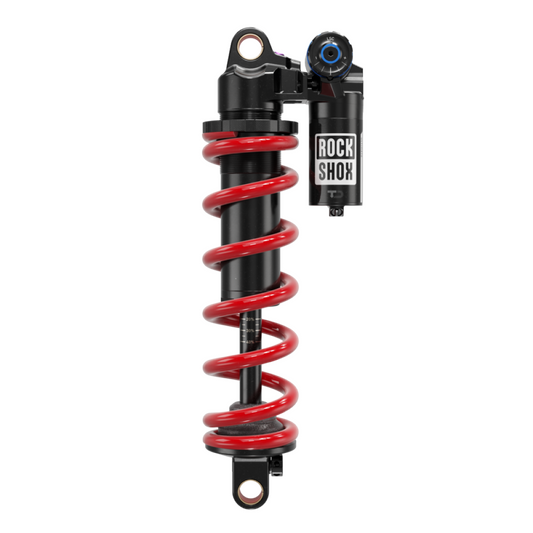
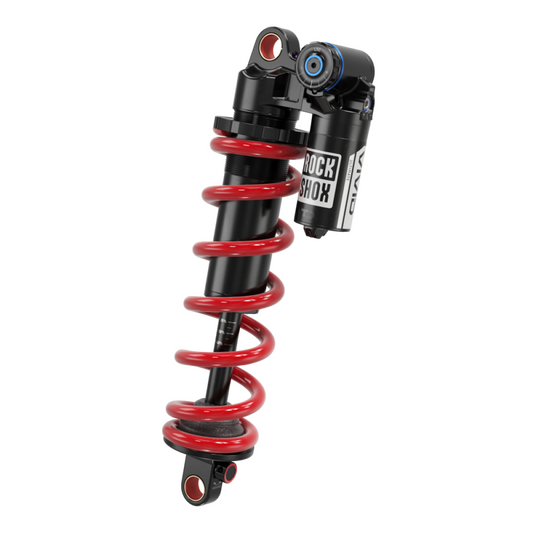
ROCKSHOX VIVID ULTIMATE DH RC2 HBO Shock Absorber
Regular price 3.535,00 DKKRegular priceUnit price per -
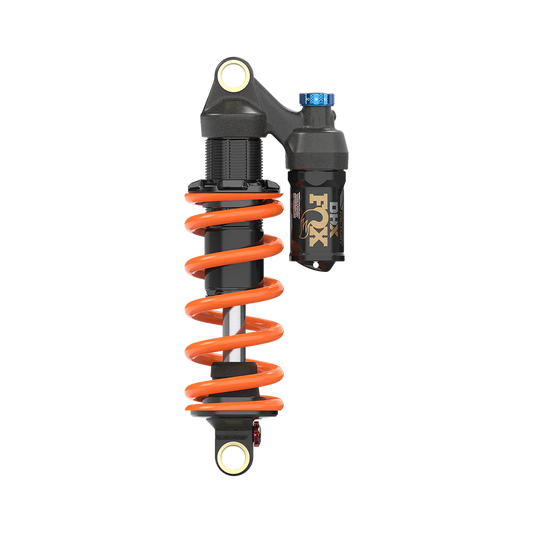
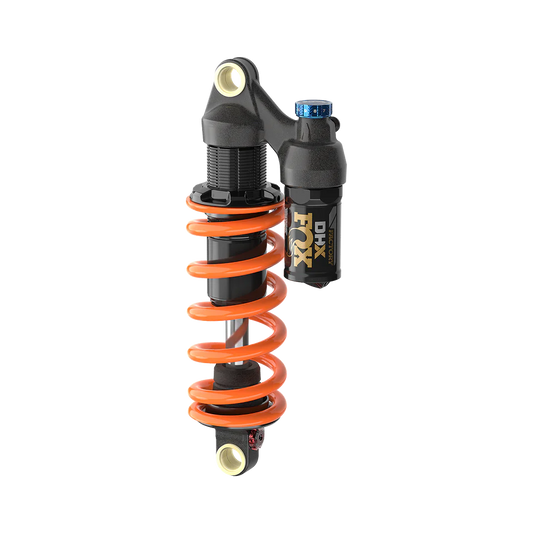
FOX DHX FACTORY 2pos-Adj Shock Absorber 2026
Regular price From 5.051,00 DKKRegular priceUnit price per -
ROCKSHOX VIVID ULTIMATE DH RC2 HBO Trunnion Shock Absorber for Trek Session (2022+)
Regular price 3.704,00 DKKRegular priceUnit price per -
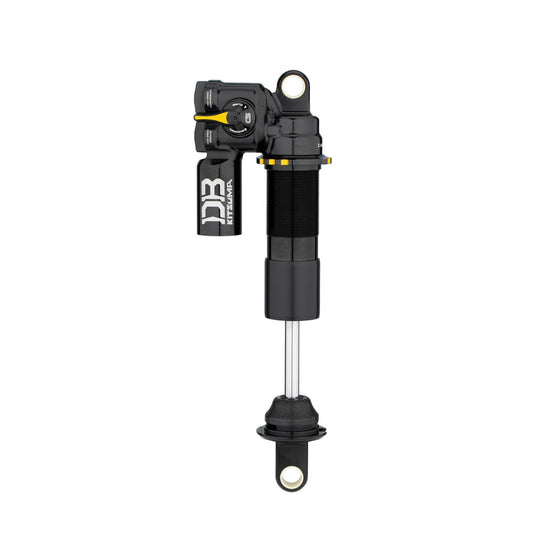
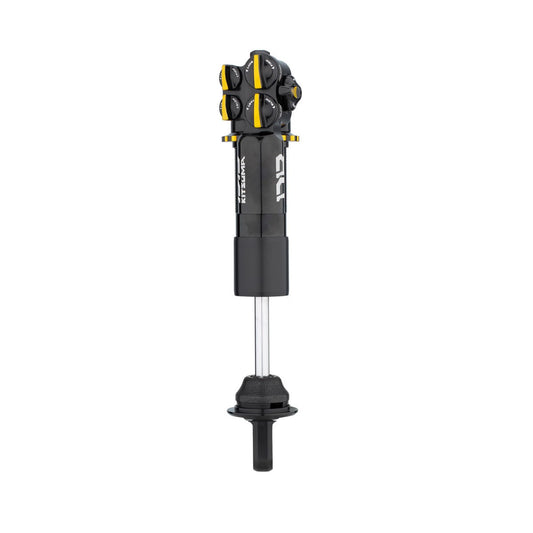
CANE CREEK KITSUMA Shock
Regular price 5.051,00 DKKRegular priceUnit price per -
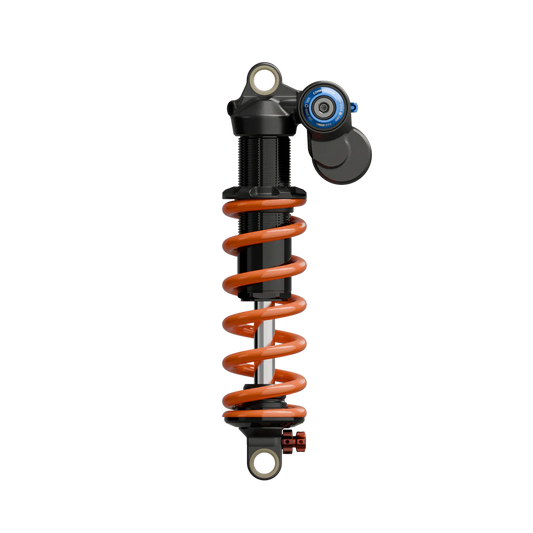
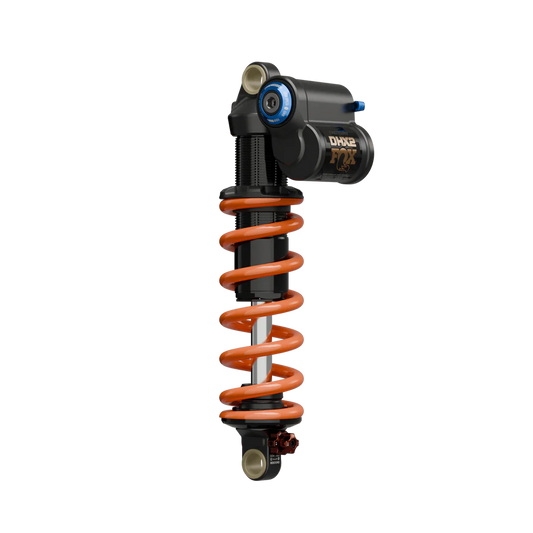
FOX DHX2 FACTORY 2pos-Adj Shock 2026
Regular price 7.155,00 DKKRegular priceUnit price per -
ROCKSHOX VIVID ULTIMATE DH RC2 HBO Trunnion Rear Shock for Santacruz V10
Regular price 3.535,00 DKKRegular priceUnit price per -
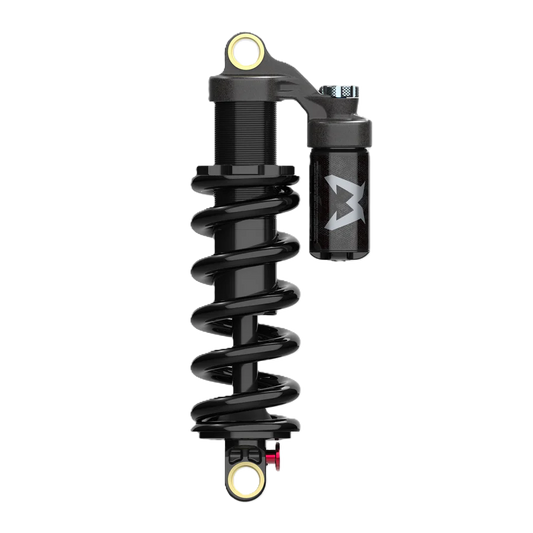
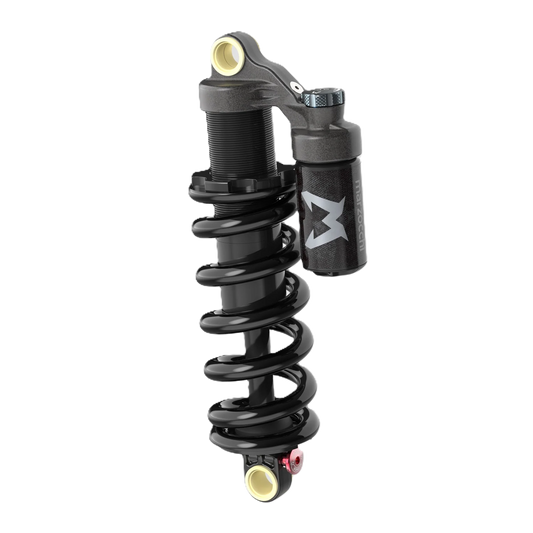
MARZOCCHI BOMBER CR 2026 Shock Absorber
Regular price 2.946,00 DKKRegular priceUnit price per


